Windows Subsystem for Linux (WSL) allows you to run Linux distributions on your Windows computer. This guide will walk you through the process of installing WSL on a Windows machine.
Prerequisites:
- A computer running Windows 10 (version 1607 or later) or Windows Server 2019.
- Administrator privileges on the computer.
======================================
Step-by-step guide:
Step 1: Enable WSL
Visit Control Panel
Search Windows Subsystem for Linux and select the radio button and then enable.
Now, please allow the PC to download the needed resources and when finished, select Restart Now.
- Open PowerShell as Administrator. You can do this by right-clicking on the Start button and selecting “Windows PowerShell (Admin)” or searching for “PowerShell” in the Start menu and selecting “Run as Administrator.”
- Run the following command to enable WSL:
wsl — install
Note: If you’re using an older version of Windows 10, you might need to enable WSL manually with this command:
dism.exe /online /enable-feature /featurename:Microsoft-Windows-Subsystem-Linux /all /norestart
Step 2: Enable Virtual Machine Platform
- In PowerShell (with Administrator privileges), run the following command to enable the Virtual Machine Platform feature:
dism.exe /online /enable-feature /featurename:VirtualMachinePlatform /all /norestart
Step 3: Set WSL version (Optional) WSL 2 is the latest version with improved performance and full system call compatibility. To set WSL 2 as your default version, run the following command in PowerShell (with Administrator privileges):
wsl — set-default-version 2
Step 4: Restart your computer Restart your computer to apply the changes made in previous steps.
Step 5: Install a Linux distribution
- Open the Microsoft Store and search for your desired Linux distribution (e.g., Ubuntu, Debian, or Kali Linux).
- Click on your chosen distribution and then click the “Get” or “Install” button.
- Wait for the installation to complete.
Step 6: Initialize your Linux distribution
- Launch the installed Linux distribution from the Start menu or by searching for it in the Start menu.
- A terminal window will open, and the distribution will perform a one-time setup. This process may take a few minutes.
- When prompted, create a new UNIX username and password. This will be your user account for the Linux environment.
Step 7: Update and upgrade your Linux distribution (Optional) To ensure you have the latest packages and security updates, run the following commands in the terminal of your Linux distribution:
For Ubuntu/Debian:
sudo apt update
sudo apt upgradeFor Fedora:
sudo dnf update
sudo dnf upgradeFor openSUSE:
sudo zypper refresh
sudo zypper updateCongratulations! You have successfully installed and set up WSL on your Windows machine. You can now use the terminal to run Linux commands and applications alongside your Windows environment.
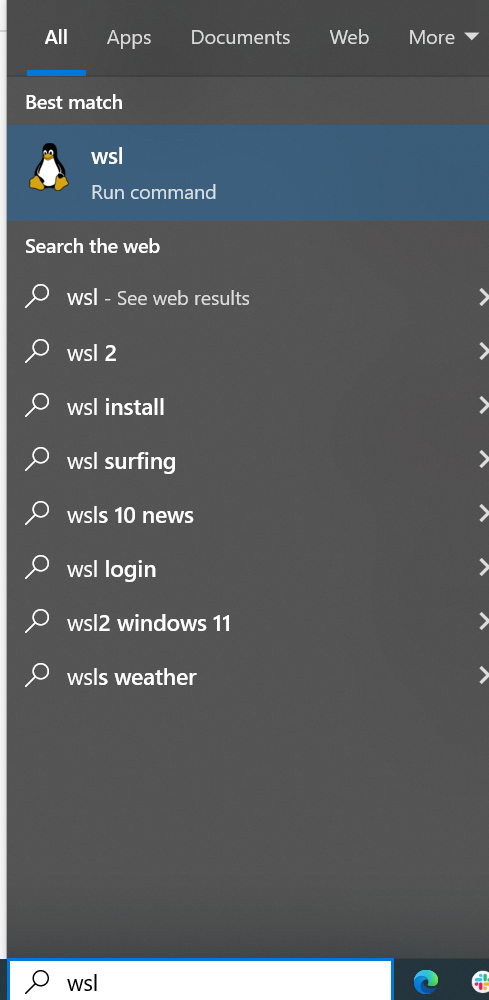
Just search for WSL from windows search

and enter.


Comments
Post a Comment