A step-by-step guide on how to install VirtualBox, Ubuntu, and Cloudera using the provided .vmdk and .ovf files.
[IF YOU HAVE ALREADY WSL INSTALLED, YOU CAN OMMIT STEP: B]
STEP A: Install VirtualBox:
- Virtualbox Installation:
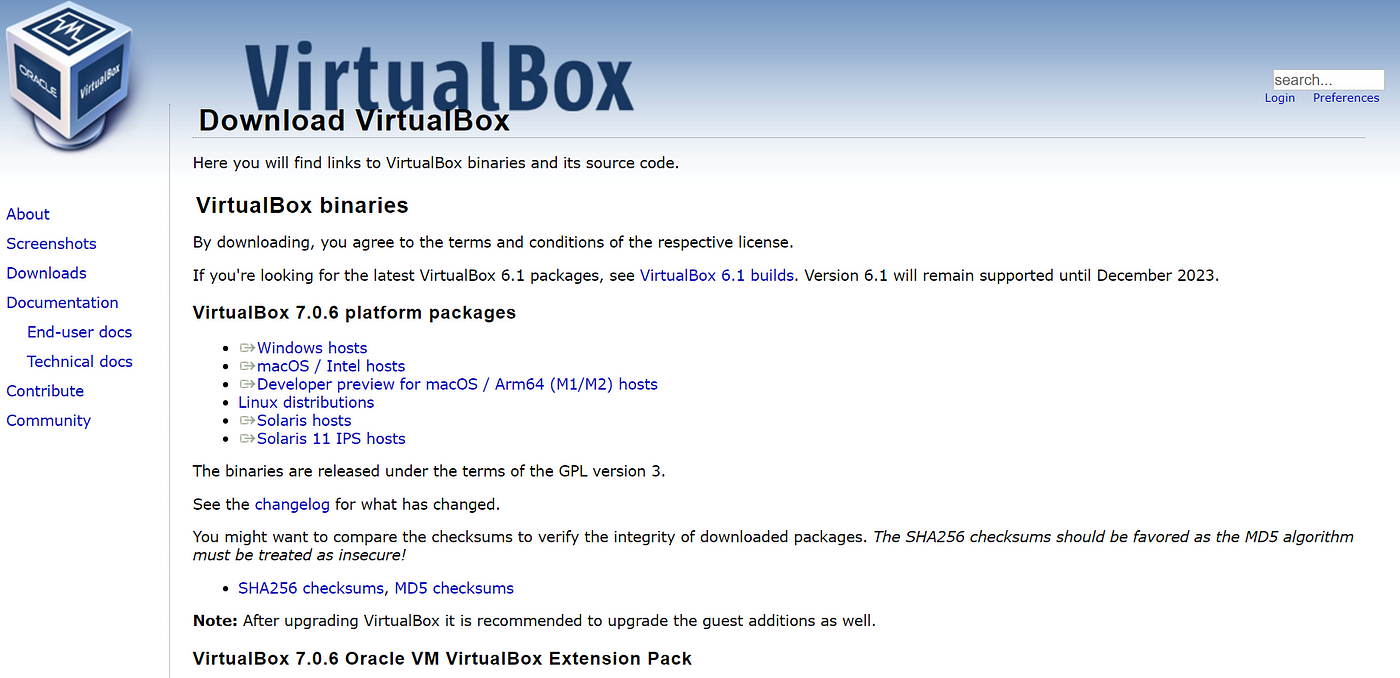
i. Go to the Oracle VirtualBox download page: https://www.virtualbox.org/wiki/Downloads
ii. Download the appropriate version for your operating system (Windows, macOS, or Linux). c
iii. Run the downloaded installer and follow the prompts to complete the installation.

- Install VirtualBox Extension Pack:
i. Download the Extension Pack from the provided link: https://download.virtualbox.org/virtualbox/7.0.6/VirtualBoxSDK-7.0.6-155176.zip
ii. Extract the contents of the zip file.
Open VirtualBox, go to “File” > “Preferences” > “Extensions”.
Click the “+” icon to add a new extension and browse to the extracted folder, then select the .vbox-extpack file.
Click “Install” and accept the license agreement to install the Extension Pack.
===============================
STEP B: Install Ubuntu in VirtualBox:
- Install Ubuntu:
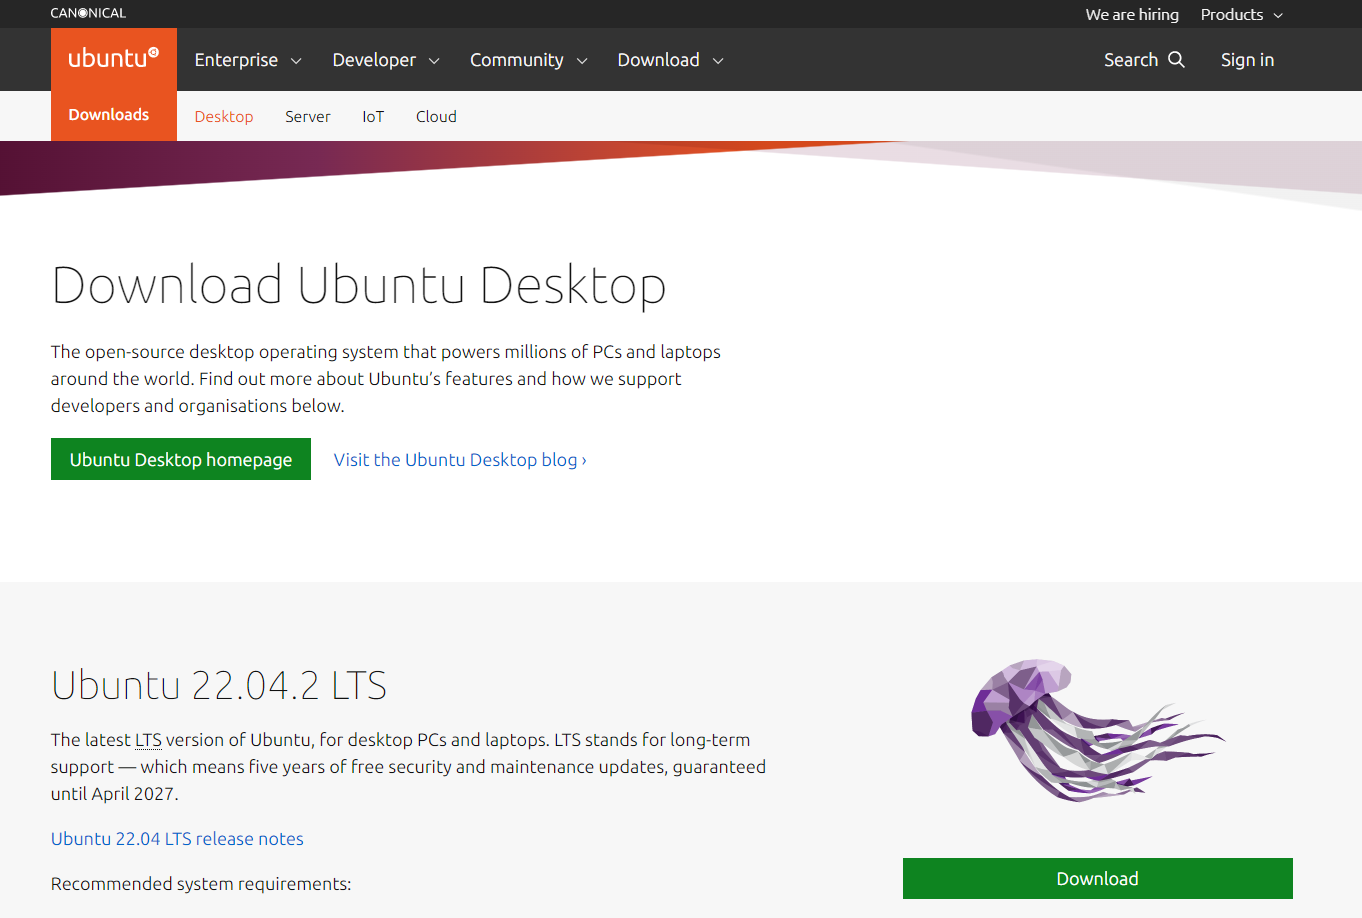
i. Download the Ubuntu ISO from the provided link: https://ubuntu.com/download/desktop

ii. Open VirtualBox and click “New” to create a new virtual machine.
Name the virtual machine (e.g., “Ubuntu”), select “Linux” as the Type, and “Ubuntu” as the Version. Click “Next”.
Allocate RAM for the virtual machine (at least 2 GB recommended). Click “Next”.
Choose “Create a virtual hard disk now” and click “Create”.
Select “VDI (VirtualBox Disk Image)” as the file type and click “Next”.
Choose either “Dynamically allocated” or “Fixed size” for storage and click “Next”.
Set the virtual hard disk size (at least 25 GB recommended) and click “Create”.
With the new virtual machine selected, click “Settings” > “Storage”.
Click the empty CD icon under the “Controller: IDE” section and click the CD icon on the right side to choose a virtual optical disk file.
Browse and select the downloaded Ubuntu ISO file.
Click “OK” to close the settings window.
Start the virtual machine and follow the Ubuntu installation prompts.
==========================================
**STEP C: Import Cloudera Image into VirtualBox:
- Importing Cloudera:
i. Download both the .vmdk and .ovf Cloudera image files from the provided links.

ii. In VirtualBox, go to “File” > “Import Appliance”.
iii. Click “Choose” and browse to the location where you downloaded the .ovf file. Select it and click “Open”.
iv. Click “Next” to review the appliance settings, then click “Import” to start the import process. This may take some time.
v. Once the import is complete, the Cloudera virtual machine will appear in your VirtualBox main window.
- Configure Cloudera Virtual Machine:
- a. With the Cloudera virtual machine selected, click “Settings” > “System”. b. Allocate sufficient RAM for the virtual machine (at least 8 GB recommended). c. Go to the “Processor” tab and allocate at least 2 CPU cores. d. Click “OK” to close the settings window.
- Start Cloudera Virtual Machine:
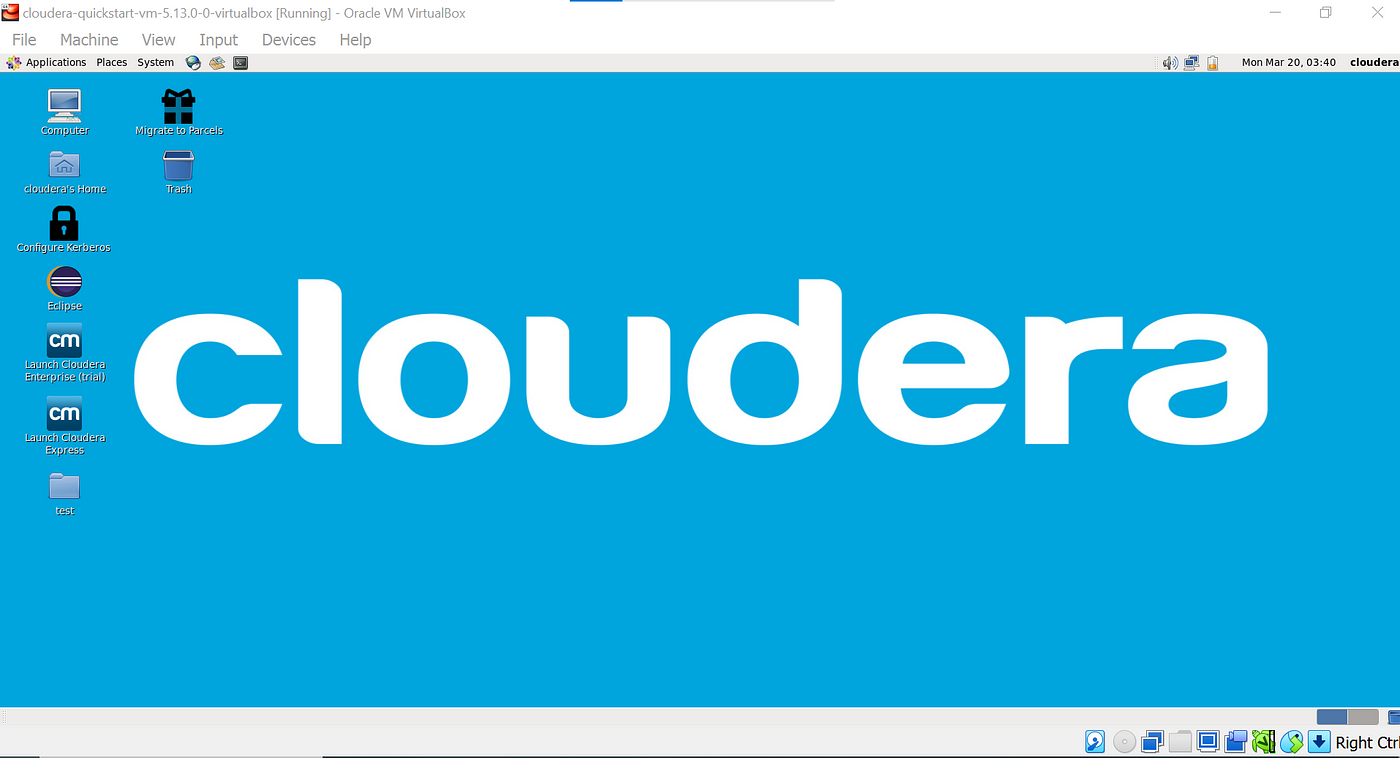
- a. Select the Cloudera virtual machine in the VirtualBox main window and click “Start”. b. The Cloudera virtual machine will boot up, and you will be able to access Cloudera Manager and other Cloudera components through the provided web interface or terminal.
- Access Cloudera Components:
- You can now use Cloudera Manager to manage your Cloudera cluster, including Hadoop, Hive, Spark, and other components. Additionally, you can use the terminal in the Cloudera virtual machine to interact with these components directly using their respective command-line interfaces.

If you now want to exit from cloudera, you can just closs the tab and select save the machine state, so that you can start from here again.
That’s it! You now have a functioning Cloudera environment running inside VirtualBox. Make sure to allocate enough resources to both the Ubuntu and Cloudera virtual machines, as they might require significant resources for optimal performance.
#VirtualBox #Ubuntu #Cloudera #Installation
Comments
Post a Comment